When you’re working or studying in the areas of games design, animation, or computer science, being able to communicate your ideas clearly and effectively is just as important as your technical skills. After all, whether you’re designing the characters for the next Fortnite, creating animations to demonstrate planetary motion, or developing the next big piece of software that hundreds of thousands of people use, your assignments or documentation are the canvas by which you can show your understanding and creativity to your teachers and peers.
That’s where the PEEL technique can come in. PEEL stands for Point, Evidence, Explanation, Link, and it’s a writing strategy that can help you structure your assignments more effectively so that they are well-written and more persuasive, and therefore easier for readers to understand.
POINT
Begin with a clear and concise statement that explains the main idea or argument of your paragraph. For games design, animation, or computer science, this could be a specific feature, technique, or concept you have used in your project. Often, this is a statement of fact.
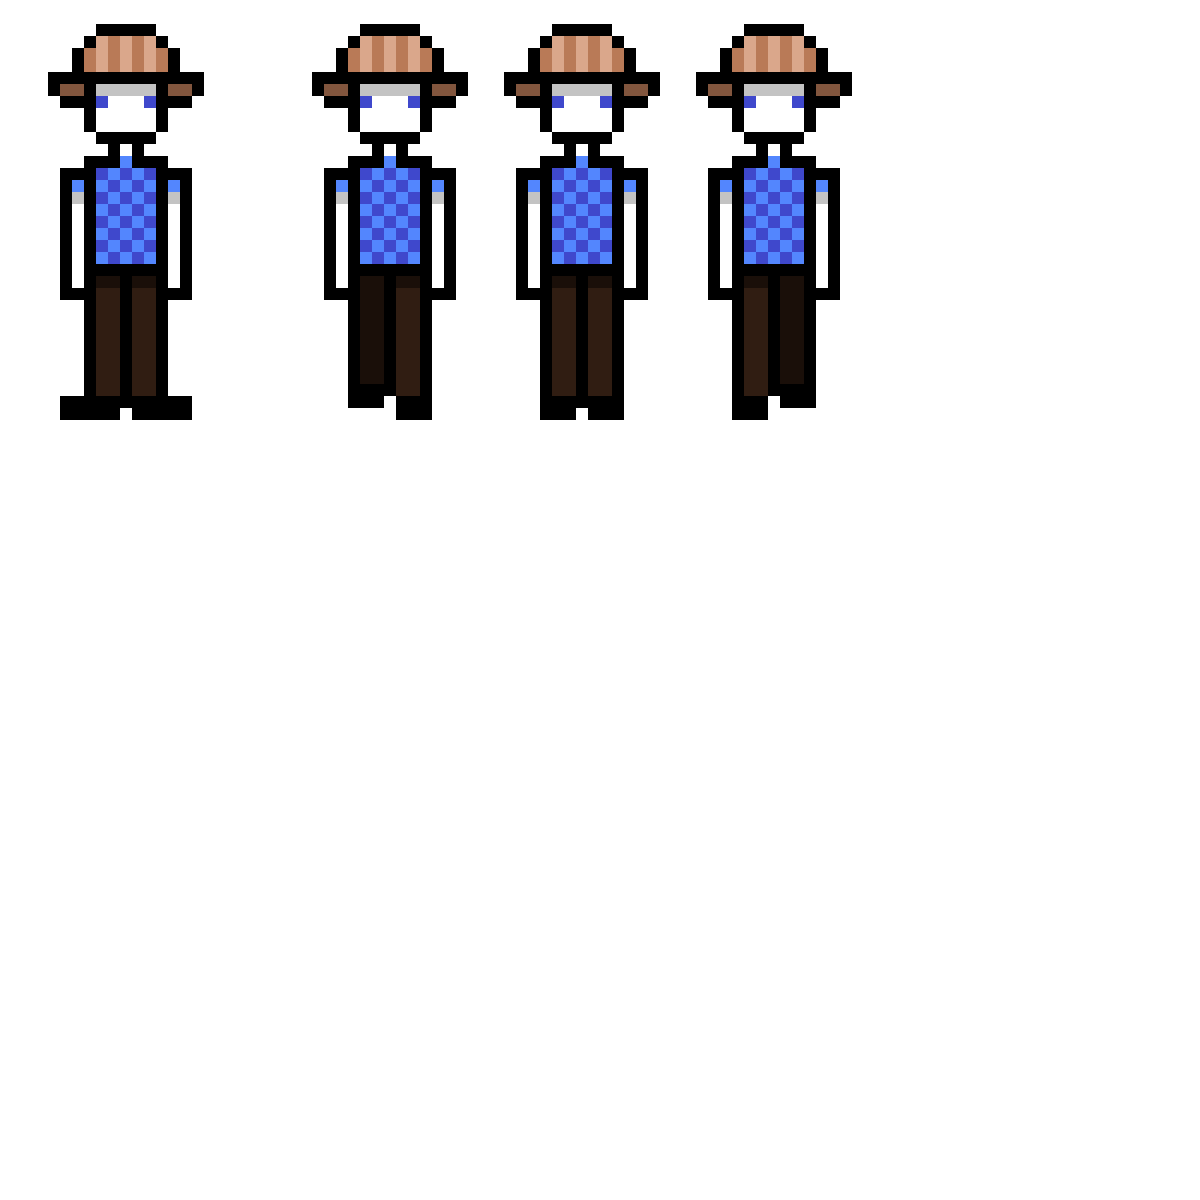
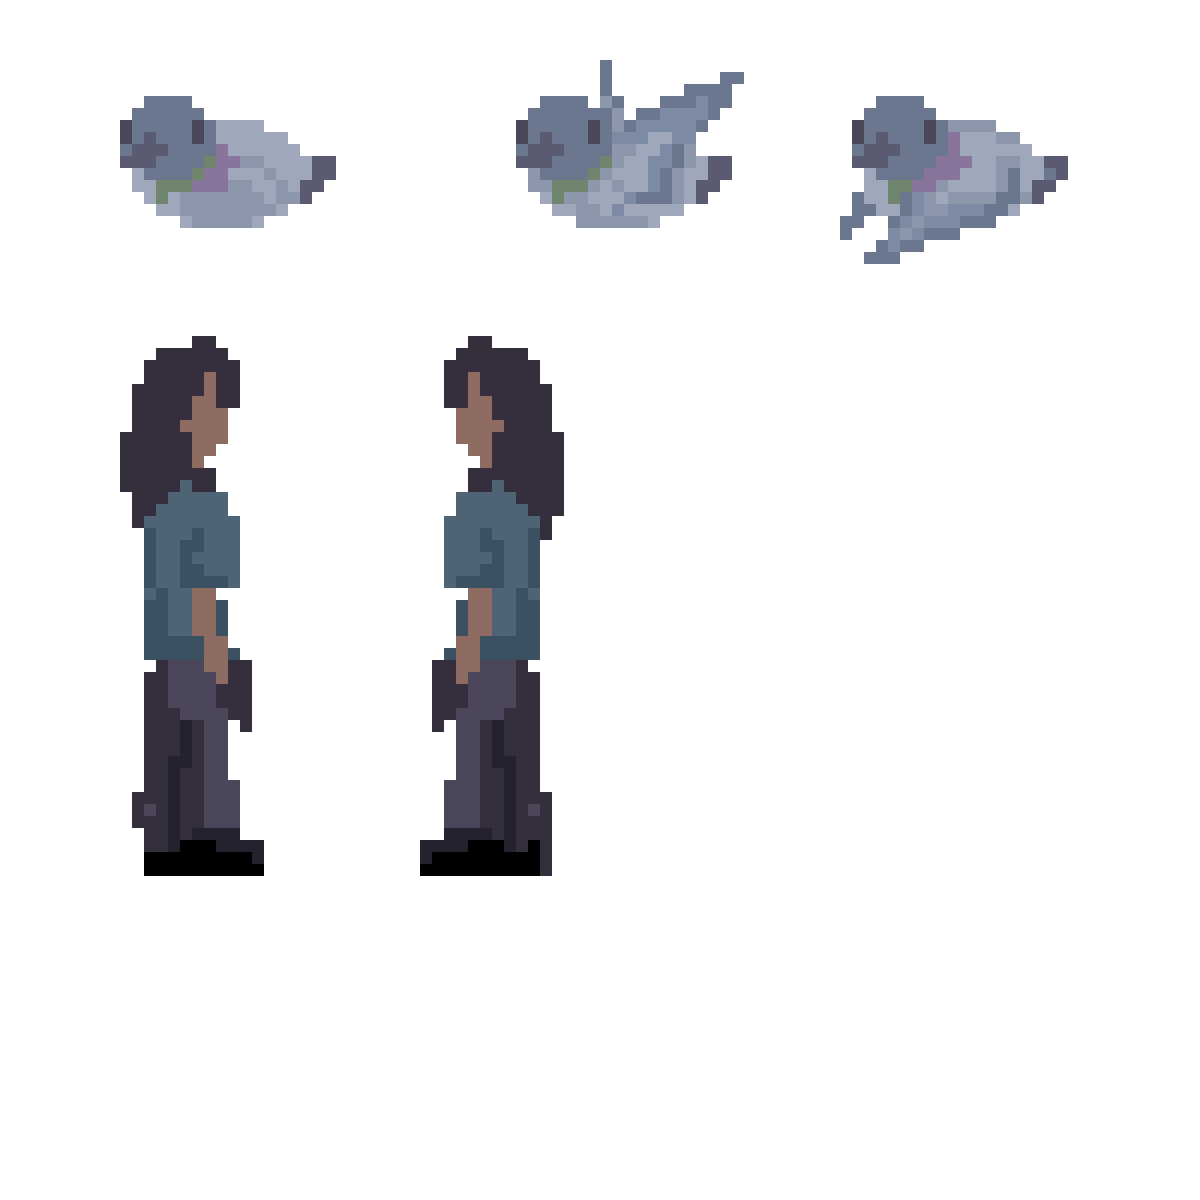
“I created a sprite using Krita using a pixel art style as the main character of my game.”
EVIDENCE
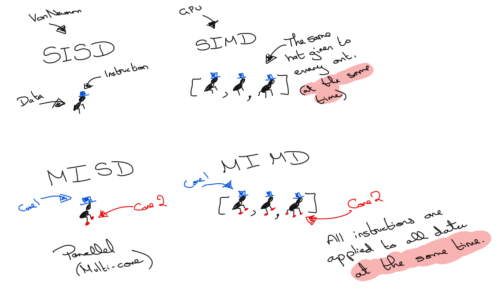
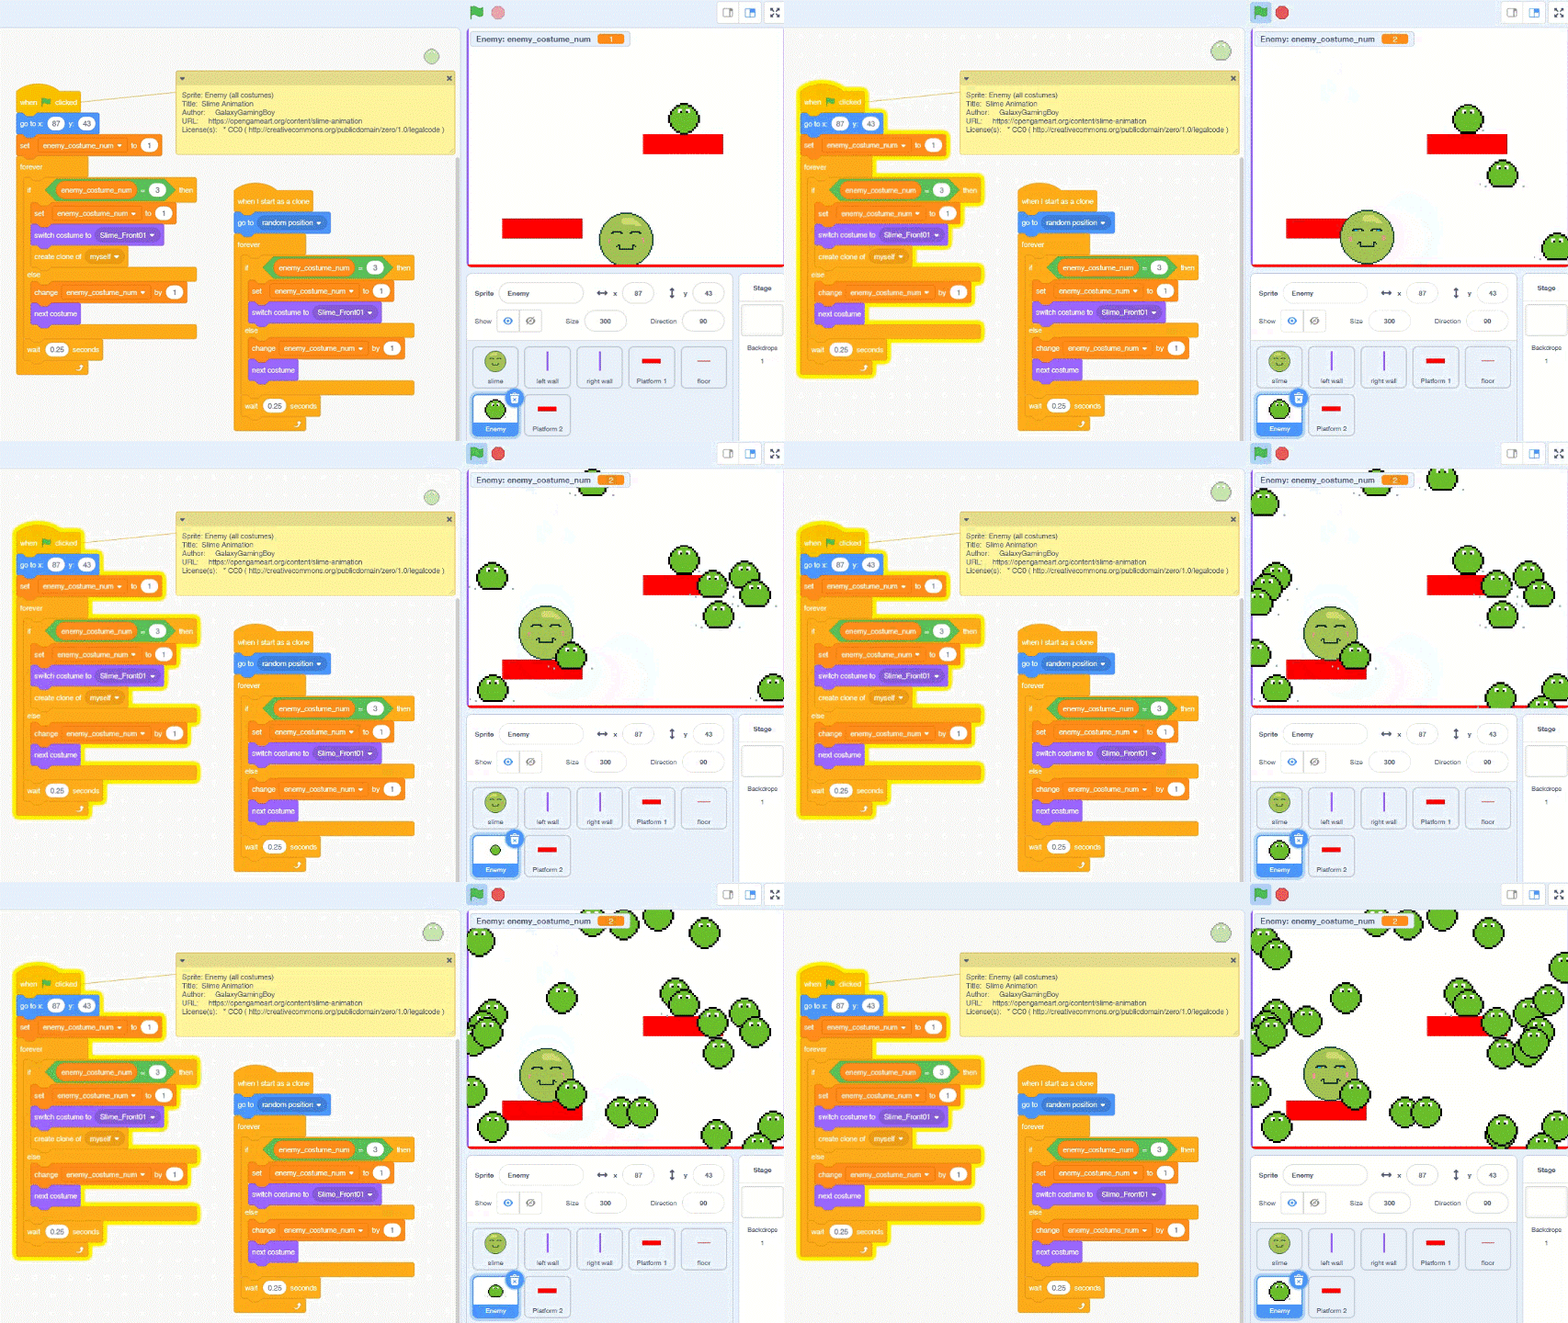
After providing your point, present the evidence that supports it. For assignments in our fields, this often involves a screen capture of your work. These visuals are more powerful tools to get your point across than words.

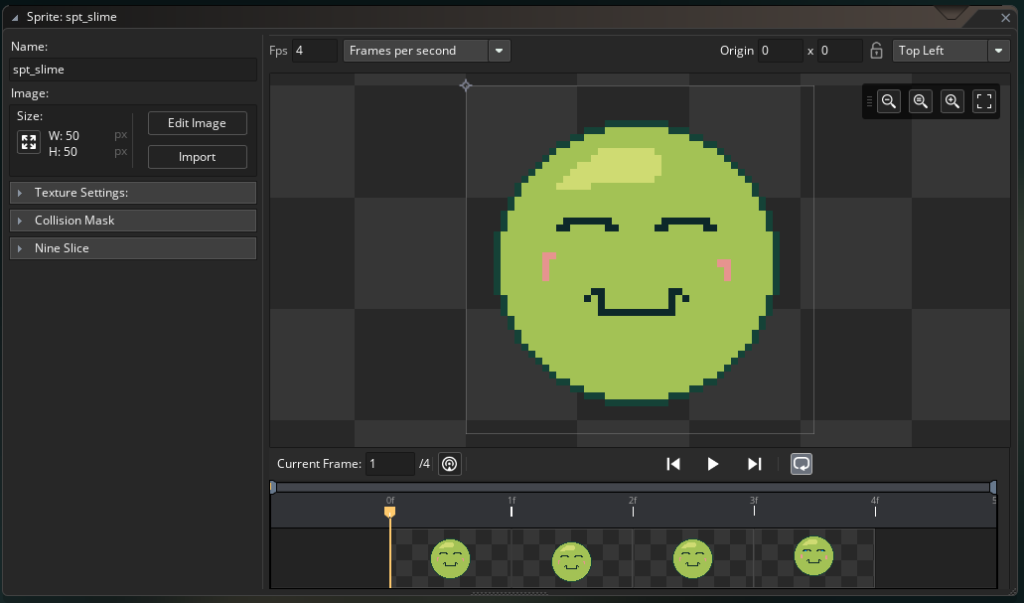
This evidence can be improved by annotating your screen captures – perhaps with comments in the code, or by adding call outs to an image.

EXPLAIN
Following your evidence, you can explain how the evidence you’ve given supports the point you’ve made (or why you chose to do a particular thing). This is also your chance to create a deeper understanding of your work for whoever grades your work and to show how your work meets the assignment objectives or mark scheme.
If you’re unsure of how to start this section of writing, think about using the following link words:
“I used four frames in the sprite design BECAUSE this allowed me to create a smoother walking animation showing both feet and arms moving.”
“I chose the Gamemaker software for my project AS it offers extensive support for 2D and 3D game development, enabling more complex scene constructions and character animations.“
“I implemented a binary search algorithm INSTEAD OF a linear search TO reduce the search time complexity from O(n) to O(log n), which improved the efficiency of the program.“
“I applied principles of traditional animation to the character’s run cycle, SUCH AS anticipation and follow-through, RESULTING IN more dynamic and fluid motion.“
LINK

Finally, link back to the assignment question or criteria that you were given for your project. This helps show how your paragraph forms part of your to your assignment’s overall argument or narrative. Linking back to the criteria or the mark scheme will help you to signpost to the marker or examiner that you are aiming for marks in a particular areas and draws their attention to that.
By using the PEEL structure you ensure that every paragraph you write on your assignment is purposeful, coherent and compelling and in so doing, you will not only make your work more readable, but you’ll also develop better, more critical and more analytical projects.
Writing assignments in game design, animation, and computer science can feel like a long process with constant requests to “do more”, but in reality, they are an opportunity for you to show your knowledge outside of an exam in a format where you get to show off your creativity and technical skills.
Using the PEEL technique in your writing can make your arguments stronger and your evidence more compelling.
PEEL in Practice
Imagine that you’re writing an assignment explaining how you learnt to develop Python Turtle code that draws a flower using polygons using an array to hold each shape.
Start each paragraph with a clear statement of what you will discuss.
Point
First of all, start by stating your central idea clearly.
“I learned to develop Python Turtle code to draw a flower using polygons, using an array to hold each petal’s shape, size, and angle. This allowed me to construct the flower by iterating over each petal in the array to draw each shape one after the other.”
This lets the reader know where you are going.
Evidence
Then, use screen captures of your program outputs and code to illustrate your point visually. If you are presenting a feature of the program, show a screen capture that clearly depicts that feature you are discussing. These captures must be crisp and directly related to the main idea that you are explaining.


Explain
Now explain how your evidence supports your central idea. Tell your viewer (reader) how this feature came into being and just what sheer thought, code, and process of design went into making the logic and features of the solution.
“Creating the code involved defining a subroutine that takes parameters such as the number of sides and length of each side to draw a polygon. This function was used for creating the petals of the flower. By storing each petal’s configuration in an array (e.g.,
petals = [[5, 100], [4, 80], ...], where the first number represents the number of sides and the second the length of each side), I could use a loop to iterate through this array, drawing each polygon shape on the screen.”
This explanation should make it clear that the evidence presented is your proof of the point.
Link
Finally, explain how the code you have created meets the criteria set. In this example, what part of drawing a flower in Python Turtle have you solved?
“My program solved the challenge of drawing a flower using Python Turtle by breaking down the complex image into simpler polygon shapes. The use of an array to store the configurations of each petal allowed for a dynamic and flexible approach to drawing various polygon shapes...”
If you state your Point, back it up with compelling Evidence and give a thorough Explanation, while always returning to the broader Context, you’ll find your work is clearer, more coherent and more persuasive overall. Remember, the aim is to communicate your ideas effectively: with PEEL you have a structured approach to help you to do exactly that. Adopt the technique and watch as your good assignments become great ones.

